- 800-338-0027
- Contact Us
PRODUCT SEARCH:
Enter a keyword or part number in the box below:
A Common, but Often Overlooked Cause of Bad Parts: Tailstock Repair
Every lathe and grinder operator has at one time or another 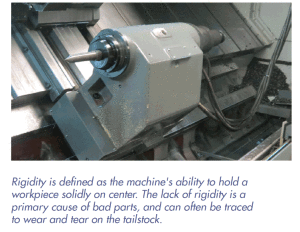 struggled with workpieces that are out of round, tapered, or have poor finish. The “quick fix is typically replacing centers or replacing spindle bearings. The problem goes away initially only to reoccur a short time later.
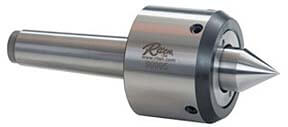
More often than you’d think, the problem can be traced to wear and tear on the machine’s tailstock. Riten has repaired, rebuilt and redesigned dozens of tailstocks, and can show you how to isolate the trouble spots and fix the problem.
Inspection System
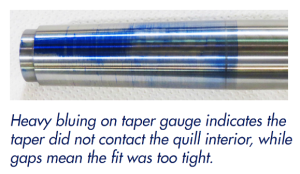
We first inspect the mounting taper, which is a prime culprit. Bluing the ID with a taper gauge will highlight out-of-roundness or other visible damage. Any large gaps or heavy bluing are sure signs of a damaged taper.
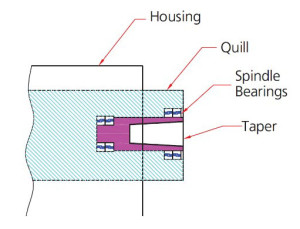
We then check to be sure that the taper is concentric to the quill, and that the quill fits properly in the housing. If it’s a live tailstock with a rotating spindle, we also inspect the spindle for wear or damage, and the bearing journals for proper size, condition, and concentricity.
A Recent Example
We received a very large quill for repair. The customer reported that the bearings had failed to the point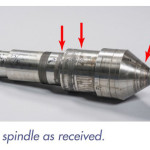 that the spindle would no longer rotate. The 60˚ taper point was only slightly worn, but the spindle bearings were irreparably damaged. There was also noticeable wear to the bearing seats, and obvious wear on the spindle bearing journals, damaging both the quill and the spindle.
We determined that the most economical solution was to remanufacture the spindle bearing journals and lightly grind the taper to remove wear and restore concentricity. Magnetic particle inspection of the rebuilt spindle was performed 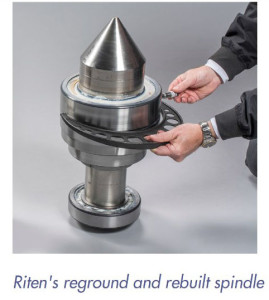 to ensure its structural integrity. New bearings were installed, making sure that they were properly matched for size and correctly mounted.
Since the damage to the quill ID was extensive, new bearing surfaces were ground to the proper size. Care was taken to maintain concentricity between the bearing ID and OD of the quill. 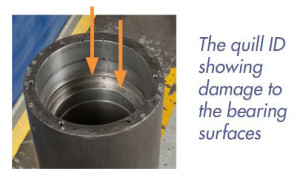
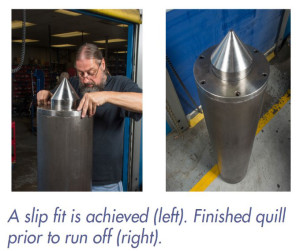
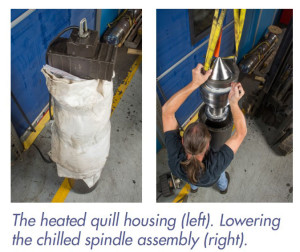
The final step was to insert the new spindle and bearing assembly into the quill. With a quill of this size, a complex slip fit procedure was required. The spindle was encased in dry ice, and a heater was inserted into the quill causing the spindle to shrink and the housing to expand. The spindle was then lowered into the quill, and when both were returned to ambient temperature, a precise fit was accomplished. The completed quill was then run off to ensure the bearings were functioning properly.
A final word about bearing failure. The first signs of excessive wear are noise and elevated temperatures. It is at this point that a routine bearing replacement should be considered. Continually ignoring these signs will lead to catastrophic bearing failure and a more costly repair/rebuilding process.
Workholding has become a documented rotational science, and Riten is a leading authority and your best source for help with any problems. We’re here to help you, so call us and we’ll give you solid answers to operational questions and experienced advice on a surprising array of machine tooling problems.

 * Part numbers for